The Marketing Designer is a drag and drop email creator for the OrderPort Marketing platform. If your plan does not include email marketing lists, designs, and campaigns, you can learn more about enabling the by sending an email to helpdesk@orderport.net.
Table of Contents
Overview
Designs can be managed in OrderPort Admin -> Operations -> Marketing Module -> Designs -> Email Campaigns.

Here, you can view and manage your active designs.

To open a previously created design, click Select on the design. You can also clone, retire, and delete designs.

Creating Designs
Click Add New Design to start making a new design.You can choose from three templates.

Template Settings
Before saving the template, you must add a name, subject line, and a from email.
You may also adjust the optout link text.
You can make the design available to clubs. This would allow you to
Maintain Image Aspect Ratio: This option makes it so that when you change the width or height of an image, it will adjust the corresponding value to keep the original aspect ratio.
Enable Resizable: This option allows you to change the size of text boxes through drag and drop. We recommend keeping this off as it may cause display issues. If you choose to resize any text boxes, test the email on multiple screens, including mobile.
Once you save the design, you will be able to add attatchments to the email.

Autosave
Once your template settings are configured, you can turn on the autosave feature. The design will save once per minute.

Preview Mode
If you would like to view the design without the dotted line guides around elements, you can turn on preview mode. To turn preview mode off, click the icon at the top left of the design.

Elements in the Design
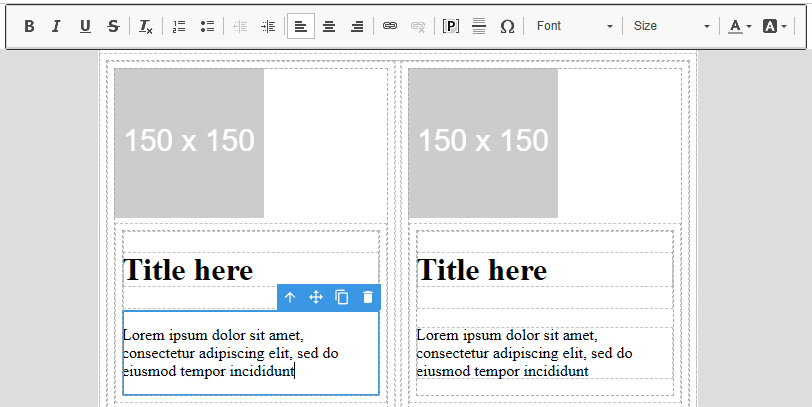
Each element within the design can be selected. When you select an item, four buttons appear. The first allows you to focus on the parent element. The second allows you to drag the element into another part of the design. The third button duplicates the element. The fourth deletes the element.

Styles
The Styles tab allows you to configure styles for the selected element. You can adjust things like background color, padding, and more. Image and button style adjustments are done within the Styles tab.

Adding Content
In the Add tab, you can drag and drop elements and layouts into the design. The first nine options are several elements you can use. We recommend avoiding the video element, as this is not supported in most email clients.

The layout options can provide structure and shape to the email.

Editing Text
You can edit text by selecting any text element. Text editing options are available on the text meu above the design.
Placeholders allow you to add dynamic information which help with personalization. For example, you can add the first name of your customer or include information about their club membership. Placeholders are surrounded by curly brackets.


Adding Images
After you drag an image into the design, you can select the image file by double clicking on it.

You can crop files when you first upload them.

In the Styles section for images, you can add alternate text for images (for accessibility) and make the picture link to a website. For example, you might have a picture of your logo link to your website.
The image border radius allows you to round the courners of an image.


Wine Club Release Emails
Under the Designs dropdown, you can view all your designs for wine club releases. These designs can be utilized from Step 4 of the wine club release process.

Notification Themes
The notification themes are used for setting up headers and footers for your automated notifications. For more information about notifications, please see this document: Notifications Guide.

