
Catalog Search
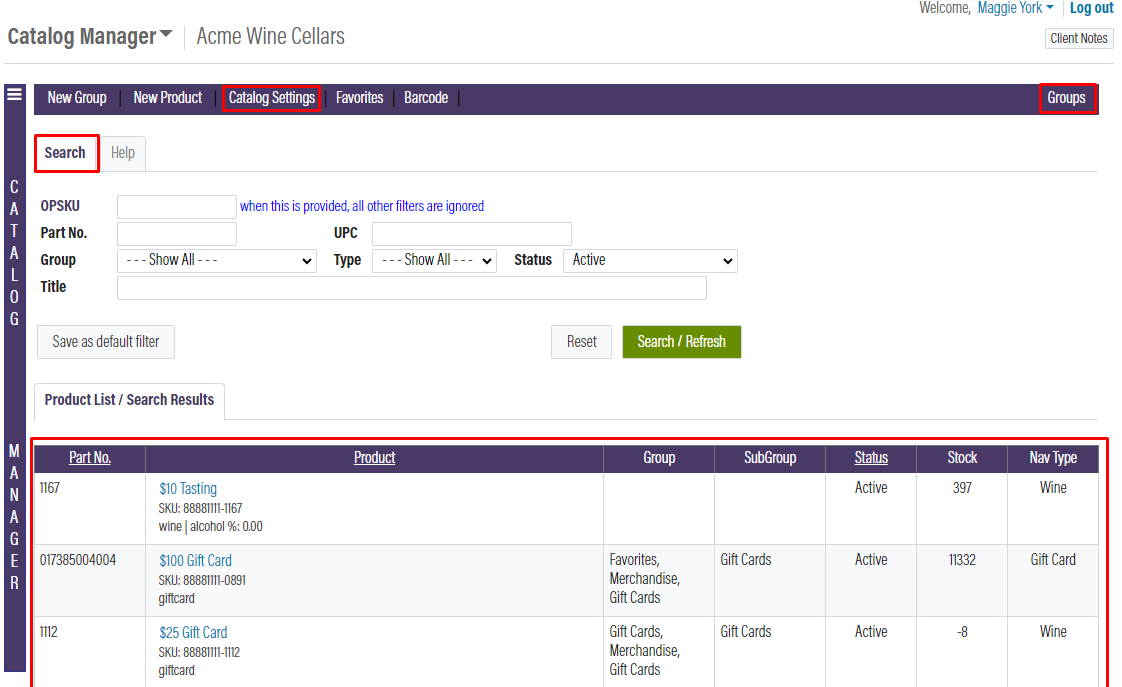
- When entering the Catalog manager, you will be sent to the Product list search. Use the search filter to find the desired product. Our recommendation is to use the groups and type fields for a faster search.
-On the product list page, you will be shown all the groups and sub-groups the product is in along with the current status of the product and the stock in your default ship location.
-Select the name of the product to view more information about each product.
Products
- Products are broken up by Product Types, whatever product type is selected determines what pages will populate on that product.
-Now matter what the Product type is each product is required to have a title, POS title, and retail price/rate.
-Another important feature is if you want to ship a product it must have weight and if it is a wine product it must have a volume.
Groups
-The group's button is located in the top right-hand corner. From here you will need to select Point of Sale, Restaurant, or webstore groups to view.
-Groups are how OrderPort determines where a product will be displayed on one of our Apps or E-Commerce platforms. If a product is not in a group, it will not be displayed.
-Within each group, you have the ability to add subgroups. An example would be the group being called Merchandise and the Subgroups being T-shirts and Wine Glasses. This allows for easier navigation.
-If you need to reorder your groups do so by clicking and dragging the groups into the desired order. You can do the same thing for the products within that group.
Catalog Settings
-The Catalog Settings page is broken up into 4 different tabs. Color & Sizes, Image Settings, Product Category, Web Store Settings.
Color & Size For physical product type only you can choose to add different colors and sizes for merchandise items.
Image Settings This page allows you in real time to adjust the size of product images on your webstore.
Product Category For reporting purposes you can create categories to sort your products into. This allows you to filter reports by products with a specific category name.
Webstore Settings These settings allow you to adjust where the summary overview will appear and if a product hits zero inventory it will be removed from the webstore.